DIY Doodle Notebooks
Need a last minute stocking stuffer?! Well, I've got you covered with these super easy doodle notebooks.

Supplies:
1. 3-pack of Moleskine notebooks (available at Target, Barnes & Noble or most stationery stores)
2. A black ink pen (I used a Faber-Casetell PITT Artist Pen in Medium purchased at Michaels).

Instructions:
Using a black ink pen (or calligraphy pen for varying thickness) doodle away on your notebook using illustrations, graphic lines or anything that strikes your fancy. I made all three of these in under an hour, so they aren't just easy, but quick too!

Merry Christmas from Smudge Design Co.


DIY Glitter Easter Eggs (no dye required)!
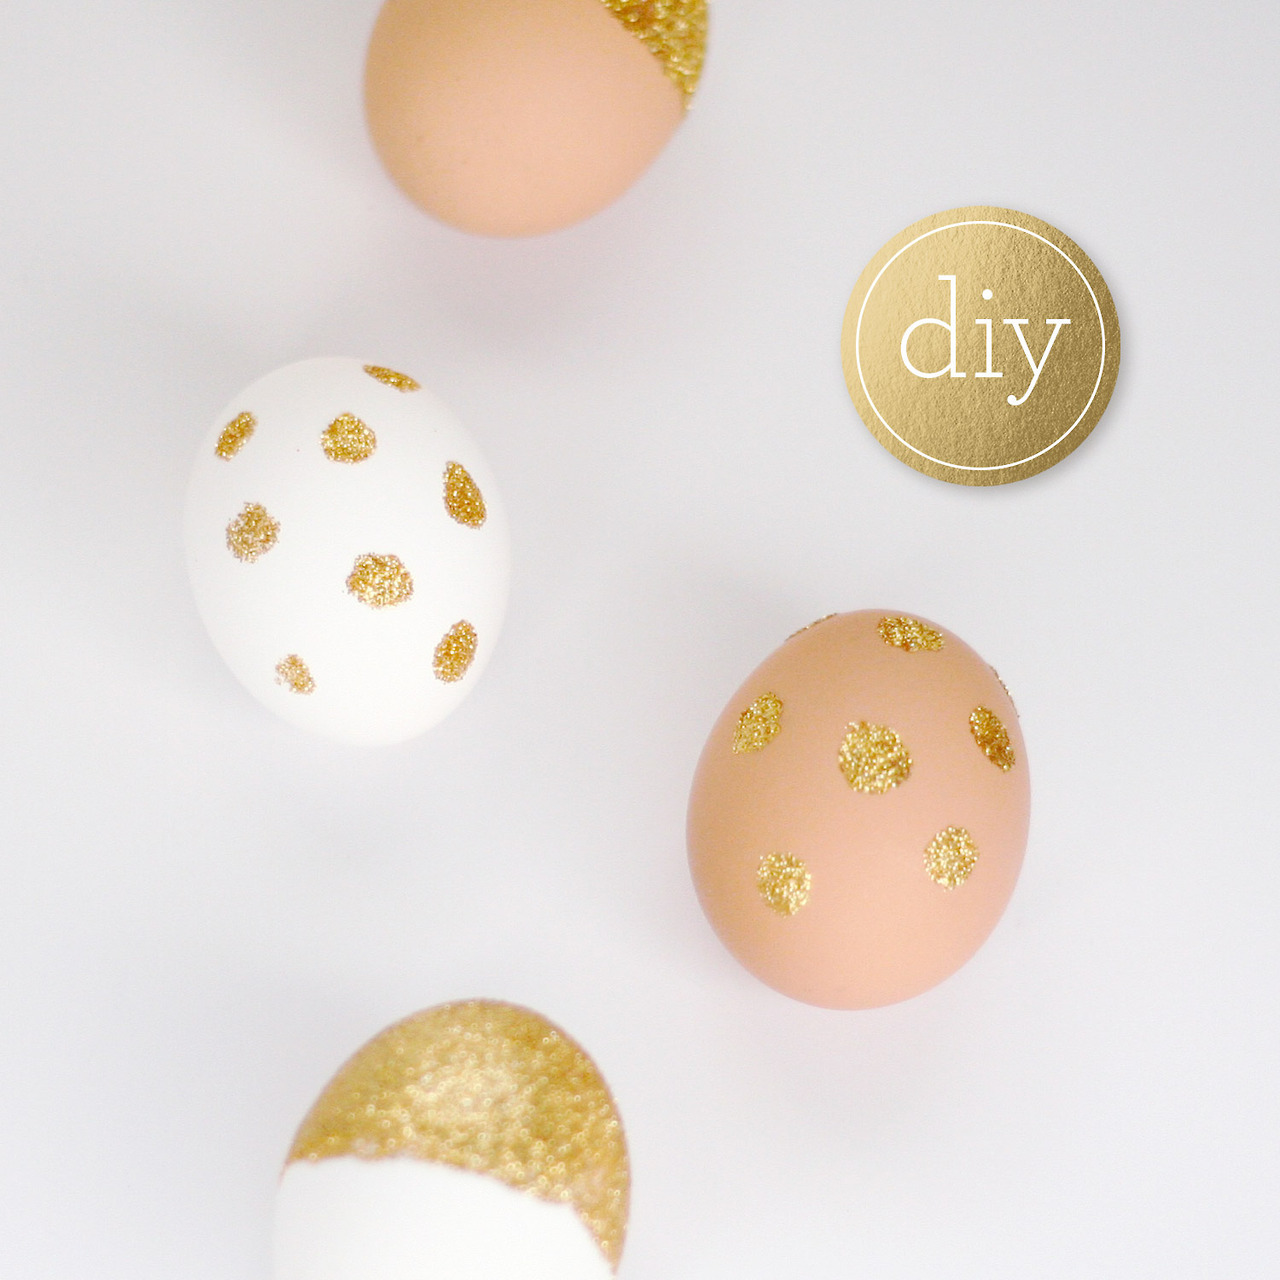
Grab yourself some eggs (real or artificial and dab away). I used real white and brown (hard boiled) eggs.
Instructions: Place some white glue (or Mod Podge) into a small bowl. If you want to create dots, dab the tip of your finger (or the eraser on the end of a pencil) into the glue, dot onto the egg, and cover with glitter, shaking off the excess. For gold and white, dip half of the egg into the glue mixture and blot excess drips. Sprinkle with glitter. And voila…you have beautiful and fun Easter eggs in less than an hour.
decorate a dozen easter eggs for under $10


Go for the gold, with beautifully decorated Easter eggs using shimmer temporary tattoos.
MATERIALS:
- Gold Shimmer Temporary Tattoos (I purchased mine from the local drugstore, advertised as “arm jewelry” and sold in the beauty section. You could also use Tattlyillustrated by Anna Bond).
-Water
-Paper Towels
-A Dozen Eggs
INSTRUCTIONS:
TIP: Start with a couple of tester eggs first and use your least favorite tattoos for practice.
1. Cut out desired tattoo to preferred length and remove clear protective top sheet.
2. Adhere tattoo sheet to egg with a wet paper towel, and hold firmly in place for 30 to 60 seconds (paper backing should be thoroughly saturated with water).
3. Once design has transferred, carefully remove backing from egg and let dry.
Happy Easter!


DIY HALLOWEEN PUMPKINS


Supplies you will need to make the above polka dot pumpkins:
Pumpkins (I purchased mine from the local grocery store)
Celebrate It ”9" Craft Pumpkin (white)” - Michael’s craft store or you could buy a real pumpkin and paint it white.
Recollections “Foil Paper” in gold and black
Recollections hole punch in both 1 ½ and ¾ inches
Glue gun and glue sticks
I started by punching out a variety of gold and black circular paper shapes. I then used the glue gun, to glue on the back side of each shape and adhere to the pumpkins. I used the real pumpkins outdoors and the craft pumpkin on my table. From start to finish, the decorating process took less than an hour to create.
Happy Halloween!